This is episode three — the season finale — of the Core 4x4 JL Wrangler build series. In the first episode, Spence and Gabby installed front upper and lower control arms plus taller springs. Episode two covered the rear control arms and track bar. Now it is time to button up the front end with a Crawl Series drag link, track bar, tie rod, end links, and steering stabilizer — then put the wheels on and drive it to the alignment shop.
Fitment: Jeep JL Wrangler 2018+
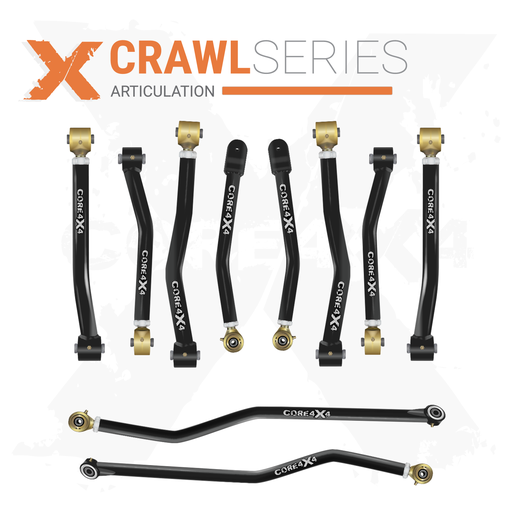
What Gets Installed in This Episode

This video covers the remaining front-end steering and suspension components for the JL build:
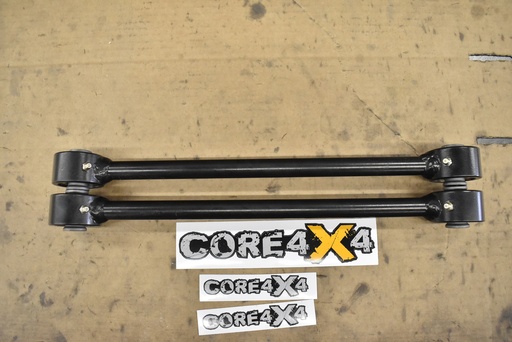
- Front Drag Link — adjustable for steering wheel centering
- Front Track Bar — Crawl Series, adjustable to center the axle under the body
- Tie Rod — set to factory length for toe alignment
- Front End Links — Crawl Series, with spacer on top to match factory offset
- Steering Stabilizer — mounted on the new tie rod
By the end of the video, the JL has a complete Crawl Series front and rear suspension setup and is ready for an alignment.
Step 1: Measure Before You Remove

Before pulling the factory tie rod and drag link, measure them while they are still installed on the Jeep. You want bolt-to-bolt (end-to-end) measurements for both components. The goal is to set the new parts as close to factory length as possible so the Jeep is driveable to the alignment shop without chewing up tires on the way.
On this JL, the factory tie rod measured approximately 61 inches bolt to bolt. Spence sets the new Core 4x4 tie rod to that same length before bolting it in.
Pro tip: It is actually easier to fine-tune the tie rod length after it is installed on the Jeep. You can spin the body of the tie rod to make small adjustments without removing it. Get it close on the bench, bolt it in, then dial it in.
Step 2: Install the Tie Rod

With the factory tie rod removed, bolt the new one in at the length you measured. The tie rod sets your toe alignment — how the front tires point relative to each other. Getting this close to the factory measurement means you will not be dragging the tires sideways on the drive to the shop.
Once the tie rod is bolted in and the length is confirmed, tighten the jam nuts. Spence holds off on the drag link jam nuts until the track bar is installed and the steering wheel is centered — the drag link length directly controls steering wheel position.
Step 3: Set Up the Steering Stabilizer

The steering stabilizer mounts to the tie rod. Here is the technique for positioning it correctly:
- Turn the wheels all the way to the driver side (full lock)
- Collapse the steering stabilizer completely
- Back it off about 1/8 inch from fully collapsed
- That is where it lines up on the tie rod — bolt it on at that position
This ensures the stabilizer has full travel in both directions and does not bottom out when you turn the wheels. The 1/8-inch offset prevents the damper from binding at full lock.
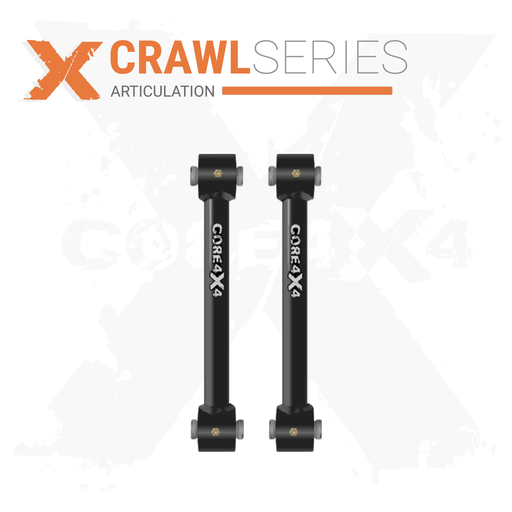
Step 4: Install the Front End Links

The Crawl Series front end links bolt right onto the sway bar and axle. A couple of notes specific to the JL:
- Spacer goes on top to match the factory offset. If you leave it off or put it on the bottom, the geometry will be wrong
- Passenger side bracket: The factory axle bracket on the passenger side is slightly narrow. You may need to pry it apart gently to get the end link bolted in. This is normal on JLs
Step 5: Install the Front Track Bar — The Buddy-Steer Trick

This is the best tip in the entire video. Installing the front track bar is significantly easier with the Jeep on the ground rather than on the lift. Here is why and how:
- Set the track bar to approximately 34 inches bolt to bolt as a starting length
- Lower the Jeep to the ground with its full weight on the tires
- Bolt the axle side of the track bar in first
- Have a buddy sit in the driver seat and turn the steering wheel back and forth
- Turning the wheel shifts the body left and right relative to the axle, which lines up the frame-side track bar mount
- Once the holes align, drop the bolt in
This is far easier than trying to wrestle the body into position with ratchet straps or pry bars while the Jeep is on a lift. The steering wheel literally moves the body for you.
Important: Do this with the vehicle on the ground. The weight of the Jeep on its tires is what makes the steering wheel able to shift the body side to side. It does not work well with the Jeep in the air.
Step 6: Center the Steering Wheel with the Drag Link

After installing the track bar, the steering wheel will likely be off-center. On this JL it was about 90 degrees off. The fix is simple — adjust the drag link length:
- Keep the Jeep on the ground with tires pointed straight ahead
- Loosen the drag link jam nuts
- Spin the drag link body to lengthen or shorten it
- Watch the steering wheel rotate as you adjust — keep going until it is close to center
- Lock the jam nuts once the wheel is straight enough to drive to the alignment shop
You do not need it perfect — the alignment shop will finalize it. But you want it close enough that the JL's traction control system does not freak out. Some JL models will throw traction control warnings if the steering wheel is too far off center.
Step 7: Final Torque, Grease, and Settle

With all components installed, the final steps are:
- Adjust front and rear track bars with the vehicle at ride height on its own weight
- Torque everything to spec — control arm bolts, track bar bolts, end links, drag link, tie rod jam nuts
- Grease all Johnny Joints and zerk fittings
- Let the new springs settle — drive it around gently before taking it for an alignment
- Re-torque after a few hundred miles — critical with new components. Everything needs to be checked once the suspension has cycled and the springs have settled
Do not skip the re-torque. After a few hundred miles, go back and verify every bolt is still at spec. New suspension components settle, springs compress, and fasteners can lose preload. This applies to every brand, not just Core 4x4.
Full JL Wrangler Build Recap
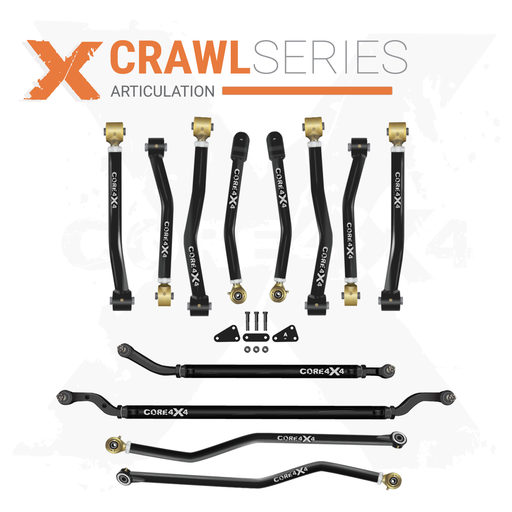
Across all three episodes, this JL received a complete Crawl Series suspension overhaul:
| Episode | Components Installed |
|---|---|
| Episode 1 (Front) | Front upper & lower control arms, taller springs |
| Episode 2 (Rear) | Rear upper & lower control arms, rear track bar |
| Episode 3 (This Video) | Front drag link, tie rod, track bar, end links, steering stabilizer |
The result is a JL Wrangler with fully adjustable Johnny Joint arms at all four corners, adjustable track bars front and rear, heavy duty steering, and Crawl Series end links. Every component can be dialed in independently, and every joint is rebuildable when it eventually wears.
Frequently Asked Questions
Related Content
- Shop All JL Wrangler Parts — complete catalog of Core 4x4 JL components
- 3 Methods to Rebuild or Repair Your Johnny Joints — maintenance guide for when your joints eventually wear
- Why You Need Control Arms — educational overview of what control arms do and why upgrades matter
Fitment: Jeep JL Wrangler 2018+. Questions? sales@core4x4.com | (385) 375-2104